Wednesday, December 24, 2014

MERRY CHRISTMAS!


Dear Blog Friends,

Merry Christmas!  Thanks to those of you who've signed up to follow Piper's Paper Wings.  It's been another fast and furious year.  I can't believe how quickly the days, months and years are flying by.  Christmas has come again in the blink of an eye, and New Year's is just around the corner.  Here's my last Christmas card for 2014.      


Thanks for stopping by on Christmas Day.  Have a wonderful day.  Wishing you all many blessings in 2015.  
Hugs, Geri  xo


Saturday, December 20, 2014

Stampabella Birthday Card in Peach


Hi Friends,

It's a busy time of year, and I haven't been around much.  I'm sure it'll be that way till after the New Year.  I know you all are just as busy, so thank you for stopping by my blog!


Today's post is a birthday card.  Stamp from Stampabella.  I thought I'd posted one similar to this awhile back, but couldn't find it.  Anyway, this is in a different color.....so hope you like it.  This one is done in peach colors.  Spellbinder's die, Stickles, Copics and flowers from my stash.


Off to take care of a bunch of errands.  Whew.....it's a busy time!  Stay warm, and I'll be back before Christmas!  Hugs, Geri  


Tuesday, December 9, 2014

Penny Black's Christmas Birdies


Hi Friends,

Here's another Penny Black Christmas card.  Can you tell I'm loving the Penny Black images?  lol  Sweet little birds sitting on holly branch.

Added the "Merry" die cut word, and on the  bottom of the card, I punched out two green branches and a snowflake with my Martha punches.  Added a gemstone to the center of the snowflake and it's done.  Quick and easy card.

Hope you're all staying warm.  It's getting a little colder here.  Won't be long before we get snow again.


closeup of birdies


Thanks for stopping by.  Until next time!


Monday, December 1, 2014

Penny Black Bird on Holly Branch


Hi Friends,

Whoa....where are the days going?  I've been really busy so have not been blogging.  Thought I'd better post a card before I turn around and it's the weekend!  lol   Here's another Penny Black image on a Christmas card.  Love those Penny Black images.  Pretty simple card, using different layers of card stock and ribbon.  Sometimes ya just gotta make a quick card, and this is one.  Hard to see in the pic, but there's a tiny diamond gemstone in the center of the snowflake.  


Thanks for stopping by today.  It's going to be very busy until after the holidays, so know that I do appreciate your visits!  Until next time.

Wednesday, November 26, 2014

Happy Thanksgiving Friends!


Happy Thanksgiving Friends!


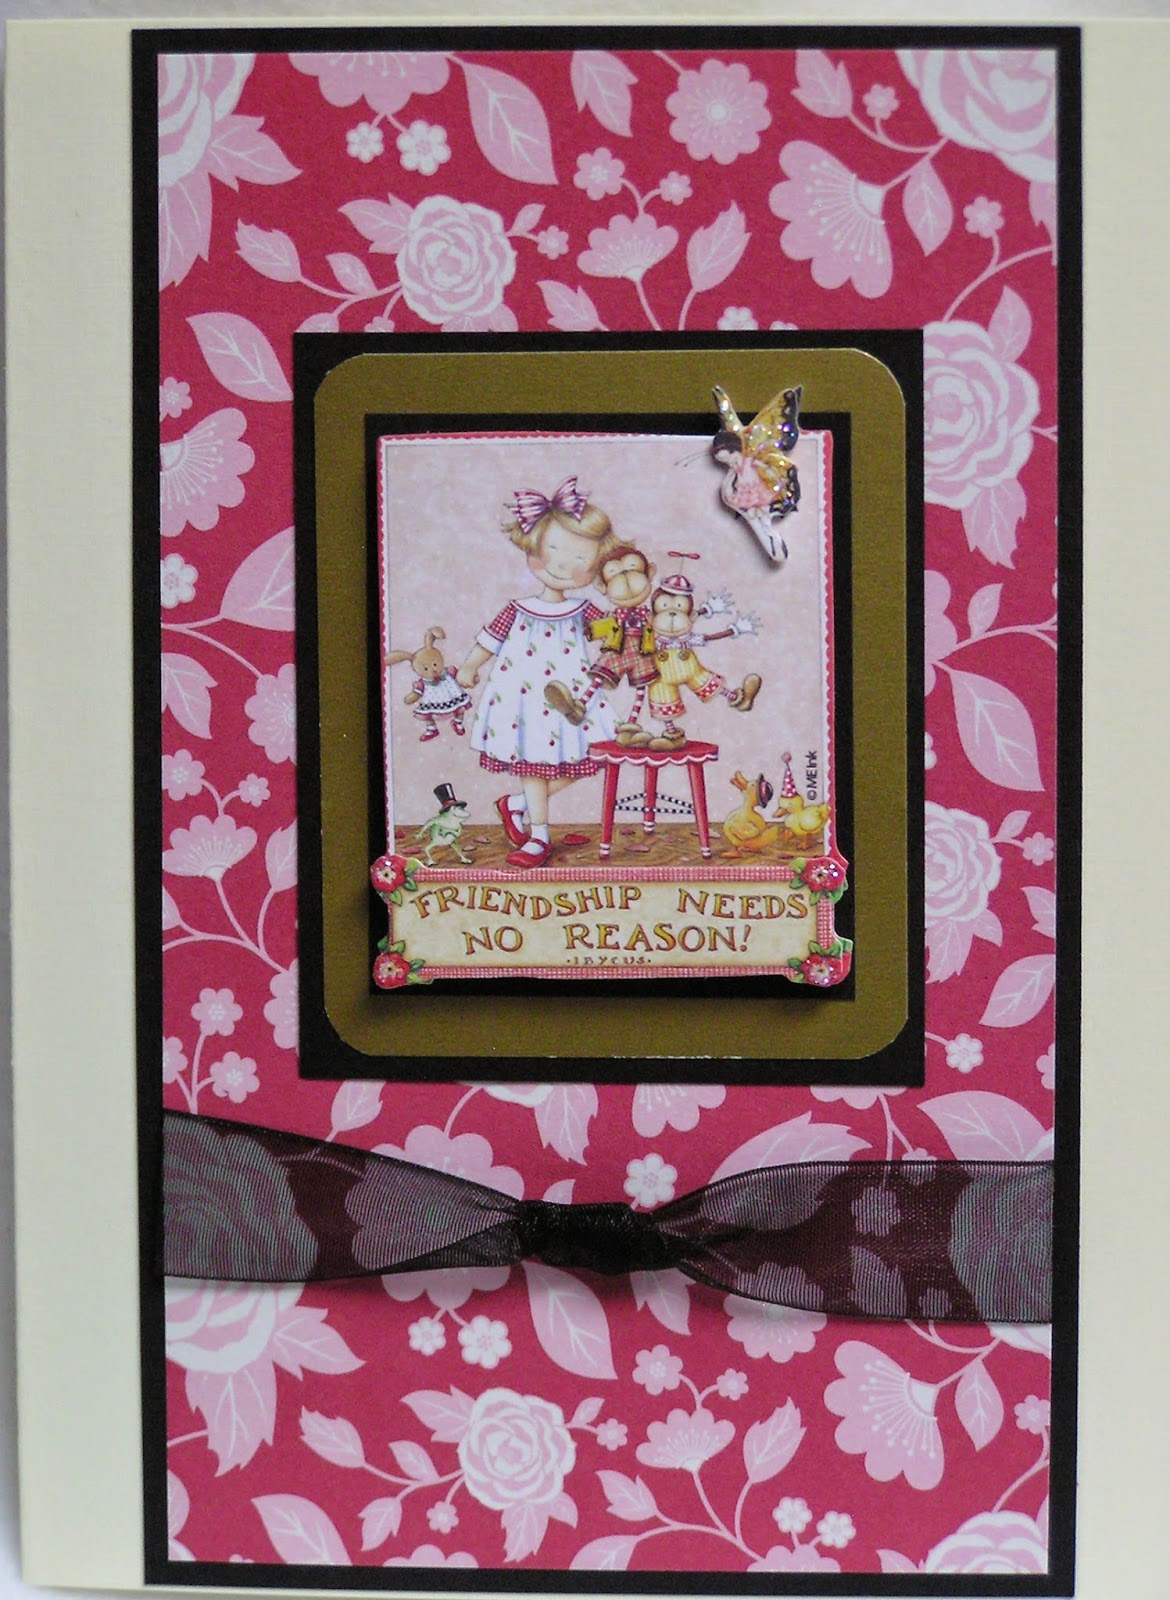
We wish you and yours the best Thanksgiving!  I don't have a Thanksgiving card to share today, but thought this one would be appropriate for a thankful message today.  Friendships are a blessing, and something I am very thankful for......and I'm thankful for all my blog followers.  Thank you, friends!

This is a Mary Engelbreit chipboard sticker.  I love her art, and I enjoy using her images whenever I can.  The background paper is some from my paper stash, as is the organza ribbon. Backed the image with gold metallic card stock.  I added some Stickles to the tiny flowers and wings on the little fairy.  I'll be back later with something new.  Have a wonderful day and weekend!


Happy Thanksgiving! 
Hugs, Geri 

Tuesday, November 18, 2014

A Different Look with the Same Penny Black Sticker


Hi Friends,

Today's card has a different look using the same Penny Black sticker.  Used a red background and small red poinsettia on this one.   "Peace" is a die cut, and I apologize, I can't remember who makes the die, but I'm guessing it may also be by Penny Black.  Add tiny stars around the word, and card is done.

I hope you're all having a good week and staying warm! 


Thanks for stopping by today.  Until next time....

Tuesday, November 11, 2014

Snowflakes and Penny Black

Hi Friends,

Today's card is one I made using a Penny Black sticker.  Penny Black has some really pretty holiday stickers this year.  The neutral colors makes a different card for sure.  Half the card is chocolate card stock, and the right side is a muted cream and greenish blue pattern.  Not your usual red and green theme.  There is a "Joy" die cut towards the bottom of the card in a champagne color....a little hard to see in the photo.  Add some snowflakes and gem stones, and you're all done.  Quick and easy card.  More of these are definitely on my cards to make for Christmas cards this year.  


Thanks for stopping by today!  Until next time...


Thursday, November 6, 2014

Two Thanksgiving Cards to Share


Happy Weekend Friends!

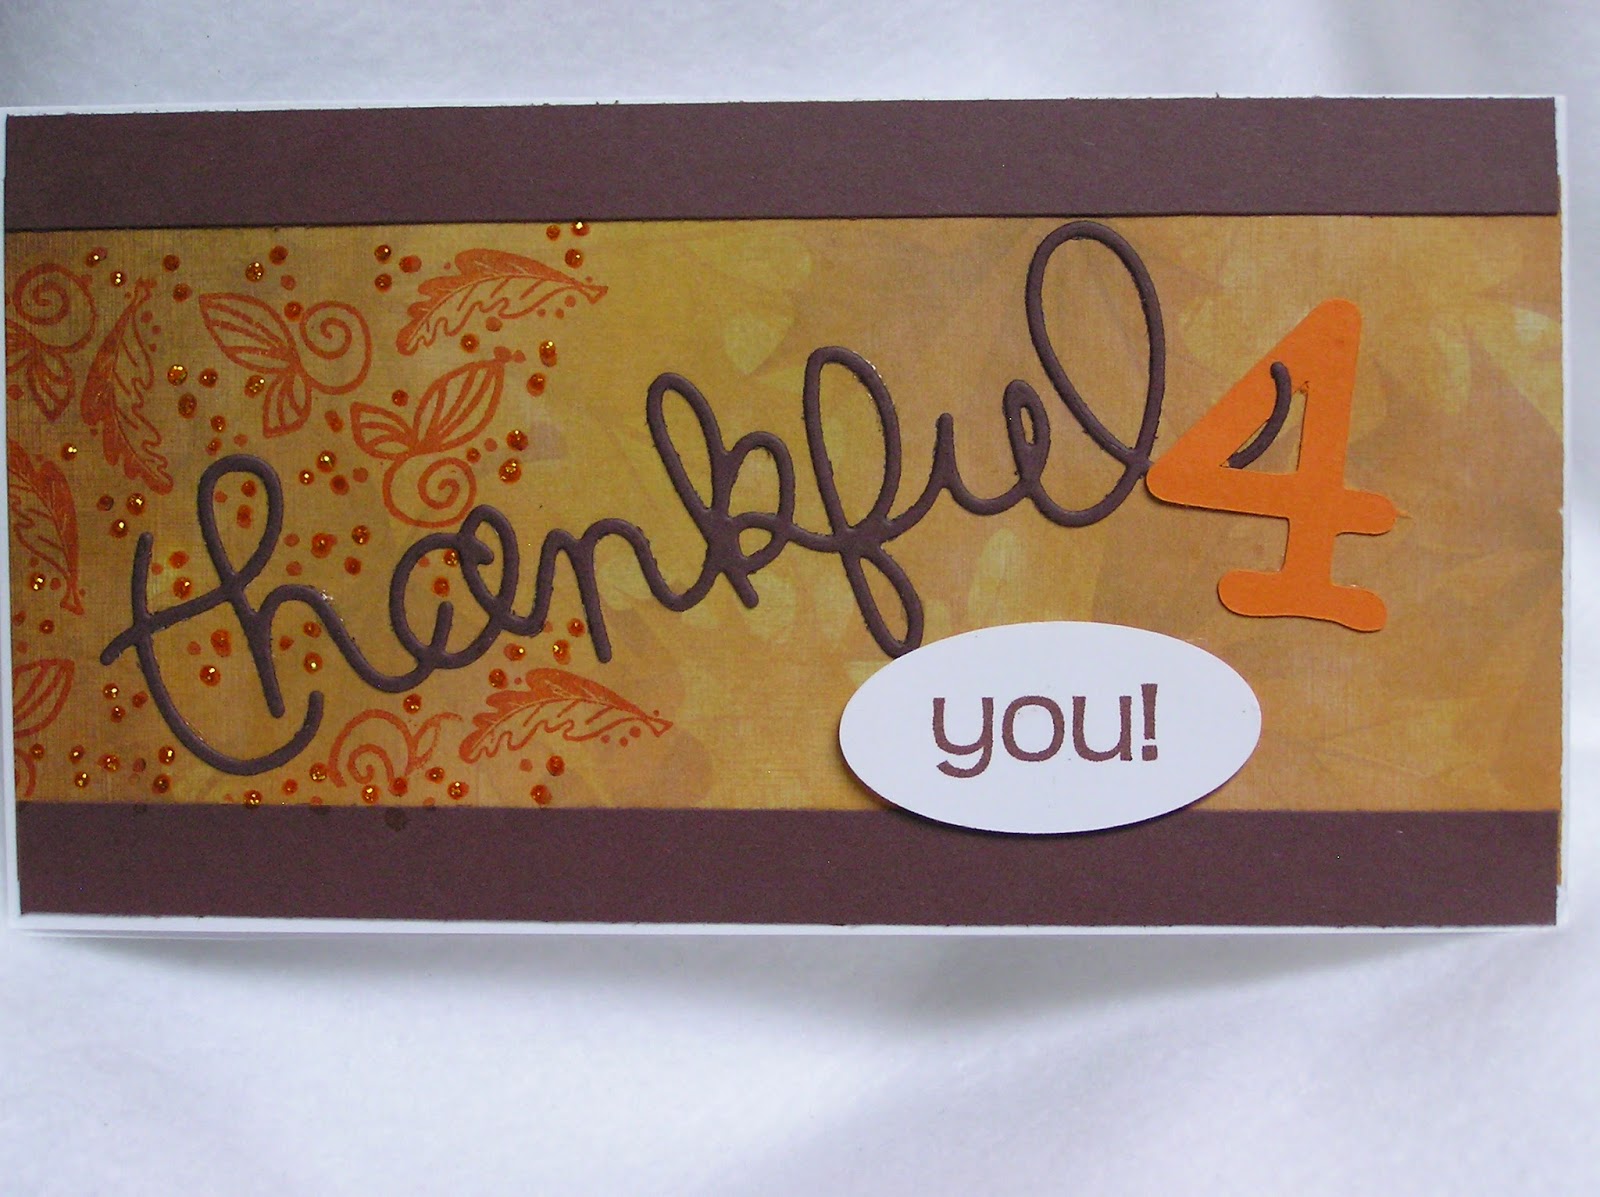
Today I'm sharing a couple of cards I made with two friends who designed the cards.  The first card was designed by Sharalynn Sullivan and the second card was designed by Kaelyn Johnson.  Thanks to you both for sharing your designs.  Wonderful cards for Thanksgiving....and it's coming up fast.  Whew, where are the days going?  Here are the cards.  


Design shared by Sharalynn 
Love the "thankful" die cut


I added the small leaf design to the background and dotted with Stickles


Design shared by Kaelyn


Wishing you all a good weekend!  Thanks for stopping by.  Until next time....


Monday, November 3, 2014

Sneaking in One More Spooky Card

Hi Friends,

Sneaking in one more spooky Halloween card.  This one is one of the "flip" card (I think that's what they're called).  When you open the card, it has two different sections, with two different sentiments.  On the inside, it reads "EEEEEKKK!! and there's a big black 3-D spider embellishment crawling up the word.  This card design was shared by Sharalynn Sullivan.  Thanks, Sharalynn!  
The background spider web die cut is a Tim Holtz die.  Another fun card for Halloween.   


here's the inside "EEEEEKK!" with big ole glittery spider.


Thanks for stopping in today.  Until next time.....

Friday, October 31, 2014

HAPPY HALLOWEEN!


BOO!

Happy Halloween Friends!

I meant to have this posted for Halloween, but you know how life gets in the way of blogging.  I used a really old stamp I had in my Halloween box for the window image.  If you look closely at the third pic, you can see the little ghost, scary tree face and spider.  The background big web is by Hero Arts.  The window die cut is by Memory Box, and the green spider web border is a Martha Stewart punch.  

Rarely do I get to use the bright lime green card stock, but Halloween is the perfect time to use it with purple.  The inside of the card (sorry, forgot to have hubby photograph that), has a little ghost attached to the word Boo!  A glitterly bat from with googly eyes sits on the top of the winow frame.  The bat sticker is from Michael's.


close-up of glittery bat sticker


Mr Tree is having a very bad hair day!  lol


I hope you all had a fun and safe Halloween!  Better go get our candles lit at the candy table and wait for the little ghosts and goblins to get here.  Happy Halloween!  


Wednesday, October 29, 2014

Quoth the Raven.....in the words of Edgar Alan Poe


Hi Friends,

To quote Edgar Alan Poe would take too much typing, so I'll just use the title.  The Raven card was a quick and easy card.  The design was shared by Liane Ceglar.  Thanks, Liane!  The stamp is by Stampendous.  Layered with orange and black card stock.  The hat has a bit of Copic coloring, then orange and black Stickles finishes it off.  Add a few sequins, and all done.


Here's a close-up of the blingy Stickles and sequin.


Thanks for stopping by today.  I'll be back soon with another card.  Until next time....


Monday, October 27, 2014

Good to the Last Bite


Hi Friends!

Today's post is a Halloween card.  Stamps are by Stampin Up, and the card idea was shared by Karen Kurz.  Isn't it cute?  I just love the bling that SU sells, it's very sparkly.  Take a look at the little vampire's eyes....bling!  The "Good to the Last Bite" is stamped on a tag and backed with orange card stock.  The bottom diamond design on the card was black & white, then colored in with SU's new alcohol markers.  Happy Halloween stamped on an orange ribbon tied a bit below the center of the card.  Quick and easy card to make.


Close-up of the blingy eyes....spooky!


Look at the inside of the card....creepy spider.  :o)

Thanks for stopping by to visit.  Until next time....


Thursday, October 23, 2014

Ms. Snottie - A Goth theme


Hi Blog Friends!

So our stamp group decided that for October our theme would  be "Goth."  Well, I had one stamp that I bought a very long time ago that I thought would work for Goth.  Her name is Ms. Snottie!  The name is on the wood block by Stampotique.  LOL  Anyway, I stamped her, colored her with a very light skin color....that is Goth-like, right?  Embossed a flourish above her head with silver embossing powder, and stamped some swirly designs at the bottom of the card.  Added a few dots too.  It's kinda hard to see, but I added a tiny flower to the bottom left hand corner, and covered it with tulle.  Her face is also covered with tulle netting.  The backgound stamp of twigs and birds is by Penny Black.  Embossed the bottom black piece with a Cuttlebug folder.  This one was a challenge for me because I'd never done a Goth theme before.  I added a strip of rhinestones under the main image (you can see them better in the bottom pic).  To me...she's spooky..I think her name should be Ms. Spooky!  


Closeup of tulle netting over face and flower.  By the way, I added the black blog background (say that three times...lol) to add to the Goth theme.  :o)


Thanks for stopping in today.   Have a wonderful weekend!  I'll be back soon. 


Friday, October 17, 2014

House Mouse ~ Happy Anniversary


Happy Weekend Blog Friends!

Today's post is an image by House Mouse....love those little critters.  Colored the image with Copics, and used different patterned black and white scrapbook papers for the background and banners.  Background and banners backed with black card stock.  Added the Happy Anniversary sentiment, used dimensional foam tape on it to pop it up a bit....then all done.

I hope you all are having a beautiful fall weekend.  The weather during the day is perfect, although I know it won't be long before the dreaded cold weather arrives.  Have a good one!


Remember....you can "click" on pics to make bigger


I'm sneaking in a pic hubby took of our beautiful Cosmos....love Cosmos!


Thanks for stopping by to visit.  I'll be back next week with something new.  Until next time...

Monday, October 13, 2014

Piper's Paper Wings Blog is 2 Years Old Today!


Hi Blog Friends!

Today my blog is two years old!  Happy two-year Birthday!  So, in honor of celebrating the blog's birthday, I thought it would be appropriate to post a birthday card.  Actually, this card went to our daughter-in-law, Yvette for her special day.  

The image is by Stamping Bella.  She has wonderful whimsical stamps.   I colored the birthday girl with Copics, and used a Spellbinder's die around the image.  The Happy Birthday die cut is from Sizzix.  Flowers are from my stash, and the greenery behind the flowers is a Martha Stewart punch.  I used another daisy-looking flower punch to place a little white flower in the middle of the pink flowers.   Stickles on the bottom hem of the dress and on her headband.  I borrowed the polka dot idea from my friend an fellow blogger Tracy.....thanks Tracy!!!  Love the polk dots.  I can tell you, I had so much fun making this card.  

Thanks to all of you who follow Piper's Paper Wings!  I very much appreciate those of you who have signed up to follow my blog, and a special thanks goes out to all of you who leave comments.  I can't tell you how much it means to bloggers.  I've had many many conversations with blog friends, and all of us agree....comments are the best.  Thanks!  xo


Signing off for today.  Thanks for stopping by to visit on our 2-year birthday!    

                                        Big hugs, Geri  xo


Friday, October 3, 2014

My Angel has been published in Stamper's Sampler Magazine!

Hi Blog Friends,

I'm excited to let you know that I've been published in Stampington's Stamper's Sampler magazine!  Our group guru, Lydia Carroll coordinated the submissions for the "Angel Template" magazine challenge.  Thank you, Lydia! 

So, grab a cup of coffee or tea, and enjoy looking at the submissions. 

The angel I submitted was named by Stamper's Sampler staff and is called "The Gate Keeper".....love the name.  I'm sure she was given that name because the angel has a set of keys hanging from a gold thread around her waist.  

I used a Hampton Arts stamp for her face, colored with Copics.  Behind her face I glued on a black flower I had in my flower stash.  Her dress is washi paper with gold embossing on it.  For her wings, I used the Tim Holtz wings die, then I ran them thru a Cuttlebug domino embossing folder.  Lightly brushed the top part of the embossed wings with Pumice Stone Distress Ink.  I tied two gold key charms on gold thread and attached those to her waist.   I've never submitted anything to Stamper's Sampler before, so I was quite surprised, but very pleased to find out that my angel made the latest issue.  Again, all thanks to Lydia...our group Angel!

I will also be posting Sue MacGregor's angels.  Sue submitted three angels, and all three are in the magazine.  Congrats, Sue!  


Here's the magazine cover.


The Gate Keeper


They spelled Neumann wrong, but oh well. :o)
Stamper's Sampler staff also re-writes description.  I included additional info that isn't mentioned here. 


Close-up of face


Close-up of key charms


* * * * * * * * * * * * * * * *

And now......presenting Sue MacGregor's three published angels!


Sue MacGregor's "In the Pink" Angel


Sue MacGregor's "Crowning Glory" Angel...love her crown!


Sue MacGregor's "Beckoning Light" Angel


That's it for today.  This is the longest post I've ever done.  Thanks so much for taking the time to look at the entire post.  I'll be back soon with something new.  Have a wonderful weekend!


Sunday, September 28, 2014

Black and White

Hi Friends,

Today's post is a card done in black and white.  The papers are from a tablet from Paper Studio.  Small tablet, like 4 x 6.  Neat papers in the assortment.  I cut strips then punched out the heart.  In the center of the hearts, I added a gemstone.  Easier to see in the second photo.  Backed the main image with black card stock, added another strip to the left hand side and backed it with black.  Then added a grey organza bow to finish it off.  


Here's a better picture of the smokey colored gemstones.


Thanks for stopping by to visit.  Until next time....


Sunday, September 21, 2014

Chili and Leather


Hi Friends,  

A quick post today.  The chili stamp is from Stamp A Mania art rubber stamps.  Here's their website:

www.stampamania.com

Chili is perfect for fall weather when it's starting to get a little chilly....pun intended.  lol
The chili is the magazine embossing technique.  If you have questions on the magazine embossing, please ask.

On the brown background, I wanted it to look like leather.  I've been doing some of those backgrounds for awhile, and really like they way they look.  The embossing folder is by Cuttlebug, and I used Walnut Stain Distress ink over the raised part of the embossing.  Added brads to the corners, and all done.

Thanks for stopping in today.  


                                  Oops...photo is a little off center.  


Until next time......

Tuesday, September 16, 2014

Embossed Flowers


Hi Friends,

Lydia Carroll taught a wonderful class last month.  The card we were supposed to make with these flowers, well...I messed up the background, and it just was not usable.  So, when I pulled the bits and pieces out at home, I didn't want the flowers to go to waste, so came up with a quick card and used them.  Sorry, Lydia!  The background we did in class was so nice, but alas, mine did not turn out very well.  :o(   I really like the way the flowers turned out with the clear embossing powder over them.  It was a really fun class, and we learned several techniques from our resident Technique Queen, Lydia.  Thanks, Lydia!


Here's a closeup of the embossed flowers.


Thanks for stopping by to visit today!  I'll be back soon.  Until next time....

Thursday, September 11, 2014

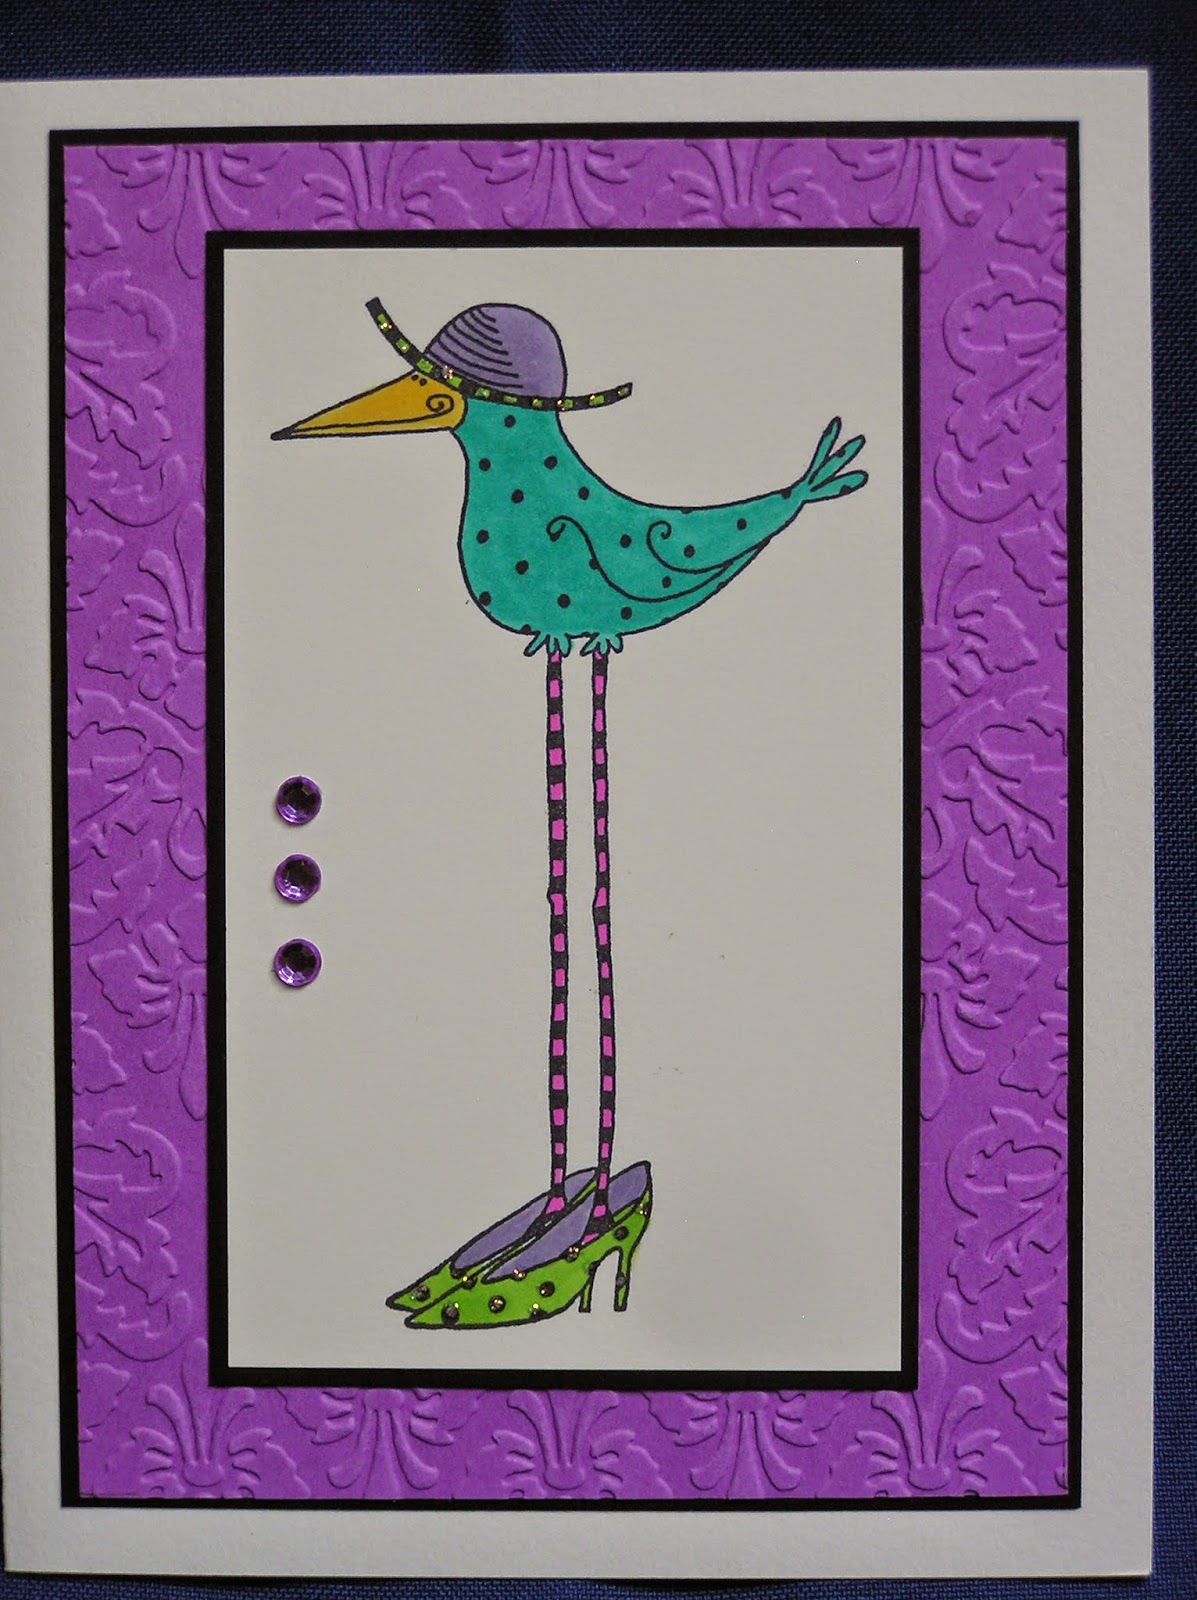
A Birdie in Her New High Heels


Hi Friends,

It's the weekend, and I wanted to get a post in before I get distracted with weekend things.  Today's card is an image by Impression Obsession.  Isn't she adorable?  When I saw this little birdie in her high heel shoes, I had to get her.  Very quick coloring and embellishing.  Embossed the background paper with a Cuttlebug folder, and added pearls to one, then gemstones to the bottom card. The embossed card stock shows up much brighter than it is person.  Enjoy your weekend!  I'll be back next week.


Thanks so much for stopping by to visit.  Until next time....


Hello again! A "long" get well card

HELLO BLOG FRIENDS! It's been a very long time since I've blogged.  You know how life gets in the way of things, and we have cer...